Past III – The Solution:
A Quick Guide To Office 365 Backup & Restore
So after Covering the deficiencies with existing default solutions in Part I, and How Cloudally completes the needed slack in Part II, here in part III, we will show you how easy it is to set up your Office 365 backup, and put in place an office 365 backup & restore.
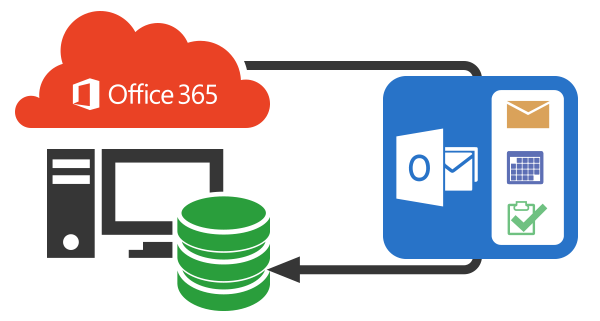
This basic essential backup capability is not covered by Microsoft Office 365 and we provide it in Cloudally’s automated backup solution. This is a simple process that runs automatically to protect your files from accidental deletion, contamination by malware or hijacking by ransomware.
Office 365 Backup & Restore
To start, log into your CloudAlly Account. If you don’t happen to have an account, sign-up is easy too. You can start with a 15-day free trial by clicking on the free trial link in the upper right hand corner of the CloudAlly home screen.
Once logged into your CloudAlly account, select the Backups option located on the left side of the screen. Then select the Office 365 Exchange on the right. With Office 365, the user can choose to utilize OAuth authorization process. You can also choose to use Admin credentials instead.
Thanks to CloudAlly’s automated backup service, IT system administrators can add new employees without having to go through extra steps to add them to the backup routine. With each new mailbox or user added, the system adds them to the backup schedule seamlessly. Users can turn off this feature if desired. Additionally, users can pause backups and choose what files to include or exclude from the backup.
Off-boarding employees; Once an employee leaves the company, the administrator can archive or transfer the mailbox data to another employee. CloudAlly’s backup service eliminates the cost of an EOA litigation hold and retains mailbox data indefinitely.
The backup program keeps files deleted from the user’s mail, OneDrive, or Sharepoint accounts. The program also saves any documents modified since the last backup interval.All files will remain intact until deleted by the user.
Users perform Office 365 SharePoint backup restore for lost or corrupted files in several ways.
The owner can search for the file, select it and click restore just like with the recycle bin. You can also choose to do an item-level restoration with a granular or date search. Users can restore data at the folder or mailbox level.
Also, the owner can choose to send restored files to any specified mailbox.
For Office 365 restore mailbox from backup with EOA, users can only export files in an Outlook compatible .pst format. However, CloudAlly allows for industry standard exportation in formats such as .vcf or .eml in addition to the .pst format. Exportation requires users to select the files to be exported and click download to begin the process.
Looking for more information on how to set up your free trial and start backing up your Office 365 files? Be sure to check out our video series on using CloudAlly’s Office 365 backup.


